Metabolic conditioning is often shortened to “metcon.” It is a type of fitness training designed to supercharge your metabolism. This acts as the engine that burns calories in your body.
Think of your metabolism like a car engine. Like how some engines burn fuel more efficiently, metabolic conditioning helps your body become better at using energy. This means you can get stronger, faster, and leaner, all while improving how your heart and lungs work.
Let’s dive into what metabolic conditioning is. We will explore why it’s important. You’ll learn how you can do it and when it’s best to include it in your fitness routine.
What is Metabolic Conditioning?
Metabolic conditioning is a mix of high-intensity exercises. These workouts raise your heart rate using primarily resistance-based moves with little rest between exercises.
Why Do Metabolic Conditioning?
1. Burns more calories. Even after you stop, your body keeps burning calories at a higher rate. This is great for losing weight or staying lean.
2. Improves endurance. Regular metcon training makes your heart and lungs work better together. So, you can do activities like running, swimming, or biking longer without getting as tired.
3. Builds strength and muscle. Lifting weights or doing bodyweight exercises makes you stronger. It also builds muscle. This helps your body burn more calories even when you’re not working out.
4. Time-efficient. This is because they’re so intense. This means you can get a great workout in a shorter amount of time.
How to Do Metabolic Conditioning
Metabolic conditioning workouts usually combine strength training exercises with cardio exercises. For example, a circuit. It includes push-ups, squats, jumping jacks, and mountain climbers. You move from one exercise to the next with little rest. The key is to pick exercises that target different parts of your body. You should do them at a high intensity.
Here are some tips:
Start Slow. If you’re new to metcon, start with simpler exercises and shorter workouts. You can add more challenging exercises and longer circuits as you get stronger.
Keep it varied. Mix up your exercises to stay interested and to work different muscles.
Listen to Your Body. Metcon is intense, so it’s important to rest when necessary and not push yourself too fast.
When to Do Metabolic Conditioning
How often you include metcon workouts in your week depends on your goals and fitness level, but 2-3 times a week is a good starting point for most people. Make sure to have rest days between to let your body recover.
A sample training week could look like this:
Monday: MetCon
Tuesday: Mobility + Zone 2 Cardio
Wednesday: MetCon
Thursday: Rest Day
Friday: MetCon
Saturday: Mobility + Zone 2 Cardio
Sunday: Rest Day
Metabolic conditioning workouts are great for people with busy schedules. They can be performed in 20-30 minutes from start to finish. The higher intensity part of the workout lasts 10-15 minutes.
Final Thoughts
Metabolic conditioning is a powerful way to boost your fitness by improving how your body uses energy. It helps you burn more calories, build muscle, and increase your endurance, all in a time-efficient way.
Adding metcon workouts to your routine can help you achieve many fitness goals. They also keep your workouts fun and hard. Remember to start slow, keep it varied, and listen to your body to get the most out of your metabolic conditioning sessions.
Kettlebell swings are a dynamic exercise that’s been proven to be a powerful tool for weight loss, especially when shedding unwanted fat. Kettlebell swings are a highly effective exercise for fat loss due to their high calorie burn, total body workout, cardiovascular benefits, functional movement, and low-impact nature.
This blog post will examine why kettlebell swings are one of the best exercises for fat loss and explore the science behind their effectiveness.
First, let’s define what kettlebell swings are. I won’t assume everyone reading this has been swinging kettlebells for years. Here’s what swings look like. My YouTube and Instagram have tons of clips of me swinging.
Kettlebell swings are a ballistic exercise that involves swinging a weighted ball-shaped object, known as a kettlebell, between your legs and up to shoulder height. This movement engages your glutes, hamstrings, quads, core, and back muscles.
So why are kettlebell swings the best exercise for fat loss?
High Calorie Burn
Kettlebell swings require significant energy output and have been shown to burn a lot of calories quickly. Studies have shown that kettlebell swings can burn up to 20 calories per minute, making them one of the most effective exercises for fat loss.
Total Body Workout
Kettlebell swings exercise an extraordinary number of muscle groups simultaneously, including the legs, glutes, core, and back. This full-body workout is ideal for increasing strength and conditioning and promoting fat loss.
Improved Cardiovascular Health
Kettlebell swings are a high-intensity exercise that gets your heart rate up quickly. This type of cardiovascular training has been shown in studies to improve heart health, boost metabolism, and increase fat burning.
Functional Movement
Kettlebell swings mimic (and enhance) many daily movements, such as lifting and carrying heavy objects. This functional movement pattern helps improve overall fitness and enhances our ability to perform daily activities efficiently.
Improve Maximal and Explosive Strength
Kettlebell swings are a powerful exercise for building muscle and improving overall fitness. The explosive nature of the movement requires a significant amount of force to be generated by the lower body muscles, making it an effective way to improve strength and power.
The study “Kettlebell swing training improves maximal and explosive strength” was published in the Journal of Strength and Conditioning Research in 2014. The study investigated the effects of kettlebell swing training on maximal and explosive strength in the lower body. The participants were 16 recreationally active men and women randomly assigned to either a kettlebell swing training or a control group.
The kettlebell swing group trained with kettlebell swings twice a week for six weeks, while the control group did not perform any resistance training during the study period. The kettlebell swing training program consisted of three sets of 20 kettlebell swings with moderate weight.
After six weeks of training, the kettlebell swing group showed significant improvements in maximal and explosive strength in the lower body compared to the control group. The researchers concluded that kettlebell swing training effectively improves lower body strength and power output.
Low Impact Exercise
Kettlebell swings are a low-impact exercise, which means they put less stress on your joints and muscles compared to high-impact activities like running. This makes swings an excellent option for individuals looking to lose weight but may have joint or mobility issues.
How Many Kettlebell Swings Should I do?
Most people will see fantastic results (after about 4 weeks) from performing 75-150 repetitions of kettlebell swings in a single workout, 2-3 days per week. The sensible approach for beginners is to start with lower repetitions an
Over time, the swing volume can increase by adding repetitions to each work set, or by adding an additional work set.
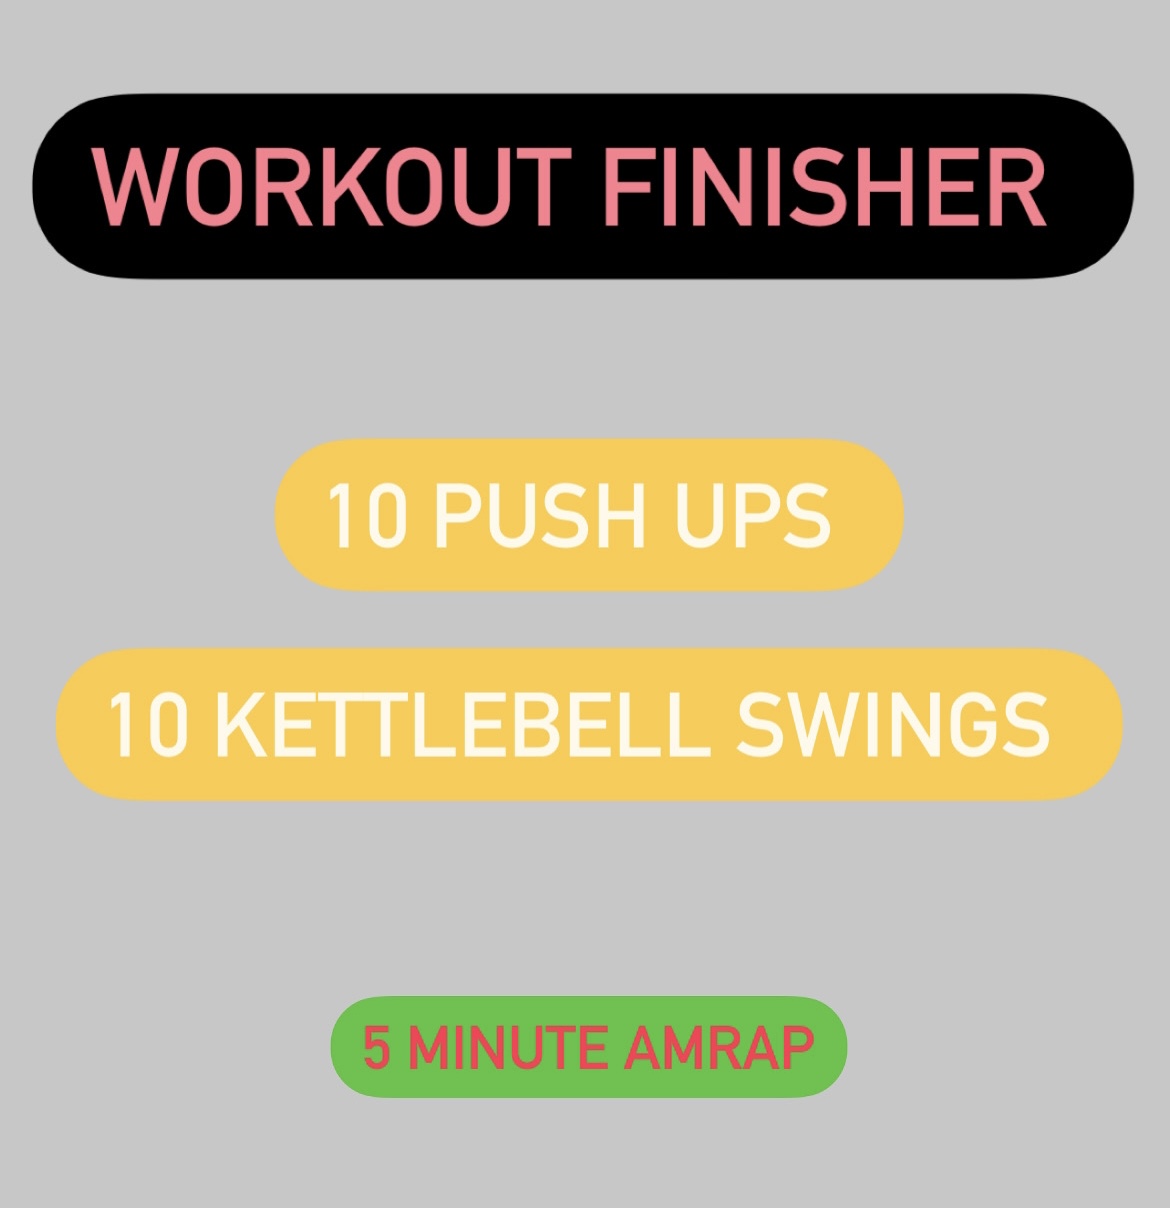
The simplicity of a two exercise workout finisher might lead you to believe it’ll be easy.
Wrong.
Bouncing between these two exercises non-stop for 5 minutes is exhausting. By the 3rd round, you’ll understand. The training effect is massive.
Push-Ups
Push-ups on an upper body horizontal pushing exercise. Push-ups build strength and condition the chest, arms and core. Bodyweight push-ups can be performed virtually anywhere. Long before I started this blog, people were leveraging push-ups to build strong bodies. Long after I’m gone people will still be using push-ups to build muscle and improve performance. Do not underestimate push-ups.
Push-ups (and the progressions) are one of the most under-progressed movement patterns. People stop at 2-arm push-ups and opt for high reps using a sub-maximal exercise variation. Explore the progressions that exist beyond 2-arm bodyweight push-ups. Carpet slide push-ups, archer, typewriter and single arm push-ups are worth your time.
Kettlebell Swings
Kettlebell swings are an explosive hip hinging exercise. On every repetition, the kettlebell travels through a arc of motion, hiking between the leg, pulling through out and up to the sternum height. Kettlebell swings have a pendulum-like look to them. Kettlebells are incredibly resourceful tools for building fitness. Swings are a great exercise to train the “go” muscles of the body, the posterior chain. For people that want to train power but don’t want to mess around with Olympic lifts (snatches, cleans, etc), swings are the exercise.
Workout Finisher: Push-Ups and Kettlebell Swings
Perform as many rounds as possible (AMRAP) in 5 minutes.
Take rest if you need it. There’s zero reason to injure yourself because you were chasing a personal record with horse-sh*t technique brought on by fatigue. Stay disciplined with technique.
Conditioning yourself to move well when tired takes time. Lots of personal trainers act like fatigue does not exist out in the real world, or high intensity (machine free) conditioning is “dangerous”. I’ve developed an opinion that it’s dangerous not to do it.
If you’re living a physical life, conditioning your body to move with integrity when you’re exhausted will serve you well.
Fatigue is a technique killer, yes, but the gym is a controlled environment where we can practice demonstrating technique when fatigue creeps in.
Like I mentioned above, take rest if you need it. There’s no shame.
The Macebell 360 swing is a high velocity, total body circular strength exercise that makes an “around-the-world” path of motion traveling in front and behind the body.
Macebell 360 swings are a fundamental exercise in the macebell training catalog.
Beginners, novice all the way up to elite macebell trainees use the 360 exercise.
“Wait… What’s a Macebell?”
Macebell (sometimes referred to steel maces) is a dense ball of mass welded onto the end of a long steel handle.
The Macebell
The design of the macebell makes it a fantastic tool for circular movements like swings, because of the increased length of the handle (as compared the clubbells), creating a significant amount of torque.
Benefits of Macebell 360 Swings
I’m not going to spend a ton of time rattling off benefits, because listing benefits is a tired tactic to keep the reader’s attention on fitness blogs.
And I get it. You landed here looking to learn more about Macebell training and you want to know what’s in it for you.
I read websites on various topics (most recently on how to grow a lush lawn) thinking “What’s in it for me?”.
Here are a few notable benefits of Macebell 360 swings:
Improved grip strength
Cardio conditioning
Rotational core training
Builds resilient shoulders
Multi-planar exercises
Pairs extremely well with other modalities
Valid calorie-burning exercise (contributing to fat loss)
Fresh, challenging, engaging, different fitness training
Holding onto the macebell during swings and other exercises train the grip, pretty aggressively. Especially as the weight of the macebell increases (grip strength) or the higher rep sets are used (grip endurance).
Similar to kettlebell swings, macebell 360 swings are great to use for loaded cardio conditioning.
Core training should expand beyond flexion/extension and static stability exercises. Training the core for rotational performance using a macebell is FANTASTIC. Macebell 360 swings can boost rotational power while also training the body to resist rotational forces (anti-rotation).
The obliques get blasted during 360 swings, mainly due to the cross-body nature of the exercise.
I talk a little more about using the importance of using dedicated mobility exercises down below, but the macebell does articulate the shoulders through a more robust range of motion than 90% of other exercises in the gym.
Over time, the muscles and connective tissue surrounding the shoulder will gain strength, flexibility, and mobility.
Just be careful to avoid overstress these soft tissue structures 😬 (thus the recommendation to build mobility/strength using active mobility training)
Most exercises are performed in the sagittal and frontal planes (very linear), which is fine, but 3-dimensional fitness should include moving in the transverse plane.
Taking it a step further, workouts should include exercises and sequences that integrate all 3-planes in one shot.
Macebell 360 Swing Technique
Mace starts in a vertical position in front of the body, hands near the bottom.
Tip the head of the mace to one side, allow the sphere to begin “falling” through an arc behind the body.
As the head falls, raise the hands up, over and behind the head (diagonal pullover)
After the mace passes behind the butt, “pull” it out through the remaining arc, drawing the hands back over the shoulder and in front of the body.
Reset in step #1 position before starting the next rep.
Less reading, more viewing… watch the slow-motion video above.
Injury
What’s funny about macebell 360 swings, is that the torque and velocity (two great features of the exercise) are also what scares the living shit out of people when it comes to the risk of injury.
You smoke yourself with a macebell and you’re going to be gun shy for a little bit.
And I get it.
When my 15lb sand 25lb macebells arrived I couldn’t wait to get into the gym and start using them.
The excitement quickly faded after I skived the head of the macebell off of hip.
Without question, there are real dangers and consequences of swinging a mace, but a person can mitigate the risk of injury by practicing introductory exercises and acclimating to the demands of the swing gradually.
Every repetition, your body must produce force to get the macebell moving, but also stabilize and control the mace throughout the path of travel.
The purpose of this article is to share benefits, technique tips/tricks, and how to use macebell 360 swings in workouts.
Macebell exercises are not more “dangerous” as compared to barbell cleans, kettlebell swings, or jumping onto a box.
Learn the technique, work to improve it, you’ll be good.
Correcting Shoulder Mobility Problems with Macebell Exercises
Macebells are frequently recommended as a mobility training tool for the shoulders and thoracic spine, and this makes me cringe.
I do not endorse trying to use weighted exercises as miracle cures for improving mobility.
My personal opinion… if you don’t own the range of motion (actively) without weight, you shouldn’t use weight to pull you into that range of motion.
Seems like a recipe for disaster.
Can 360 swings improve your shoulder mobility and function? Yeah, they can.
Is it a good idea to bypass mobility drills like CARs, prone swimmers, and other slow and controlled mobility drills in favor of twirling weight around your body?
In my humble opinion, no.
Take this as a word of caution.
You might be fine… but then again… you might not.
If throughout any part of the range of motion, the stress of the macebell swing (torque, velocity, acceleration and deceleration, shoulder position, etc) exceeds tissue tolerance, the risk of injury is increased.
The most vulnerable position is likely to be just before, during, and after the shoulders are extended (hands behind the neck) while the macebell is moving behind the body, this can be a compromised position.
And to be fair to macebell training, using a piece of weighted equipment in hopes of improving mobility isn’t just a macebell cautionary tale.
I give the same word of caution to every other piece of equipment, exercise, or activity.
Advice: Work to improve mobility BEFORE swinging the mace, not while swinging the mace.
MyMobilityDailyis my top choice to learn effective mobility solutions that leverage FRC principles (functional range conditioning). The program is streamed to your home and workouts are constantly being updated.
Selecting a Macebell Weight
Start with a 10lb or 15lb macebell, but over time you will need to increase the weight to continue challenging your body.
Lighter is better in the beginning. A lightweight mace will give you more control and create more space for technical errors.
Size up in weight with time and practice.
Most macebells, one-piece and adjustable options, get heavier by 2.5 or 5lb increments.
The human body adapts quickly to repetition and repeated stress.
Light/Midweight Macebells = Higher reps
Heavy Macebells = Low reps
Same as lifting weights.
Creating Workouts Using Macebell 360 Swings
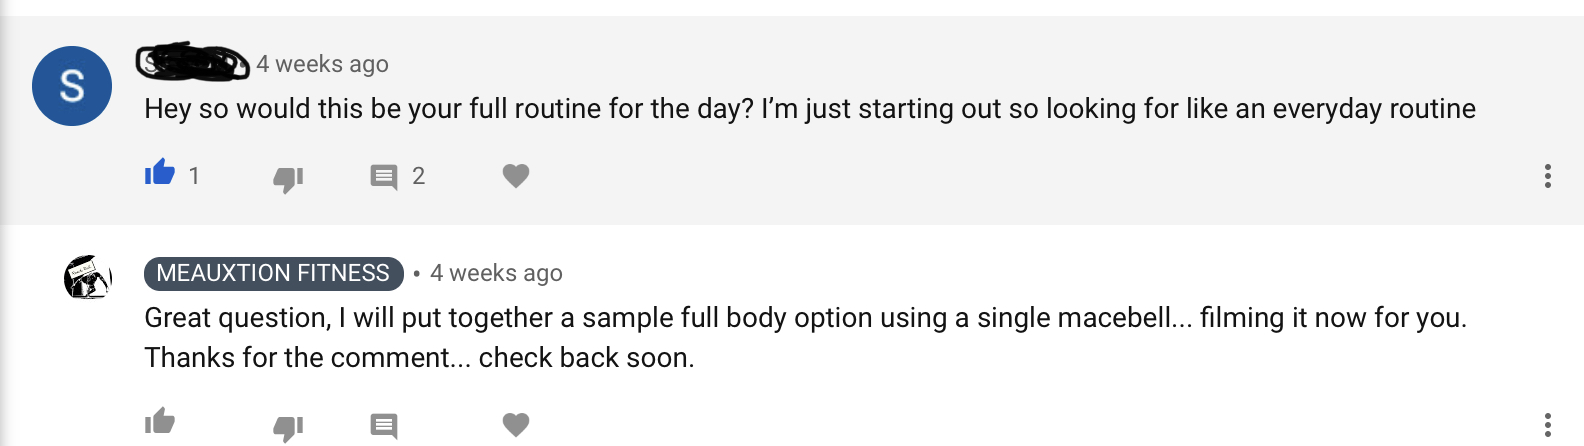
Here’s a common question I get:
I don’t recommend ONLY using Macebell 360 swings as the entire workout.
You could, but there are so many other great exercises and mobility drills, why isolate yourself to just one?
As part of a workout? Yes. Just not the whole thing.
Now with that being said, you can test your cardio and strength with longer duration sets. I’ve performed Macebell 360 swings for 8+ minutes without rest, alternating 10 reps in both directions and switching my grip periodically. Tough little workout.
Throughout any given week, I’ll strength train (2-3 sessions), condition (2-3 sessions) and ALWAYS include mobility work of some kind.
When I’m working macebell drills, it’s common practice to include bodyweight movements. Bodyweight training pairs extremely well with just about any gym equipment (smooth transitions, variations, accessibility, etc)
Everywhere you go, bodyweight training is an option.
👉 Vahva Fitness “Movement20XX”is currently my top program pick for learning how to move your body against gravity.
Here’s a shortlist of great bodyweight exercises to pair up with the Macebell: push-ups, hollow body rocks, crawling variations (forward, backward, lateral, lizard, etc) ground-based movement training, dive bombers, chin-ups, pull-ups, rows, squat/lunge/hip hinge variations, etc.
Save your grip. If you are going to include exercises drain your grip (deadlifts, pull-ups, rows, etc), think it through.
Grip integrity is crucial while swinging the mace. You let go of that sucker and it’s destroying whatever it hits.
If grip fatigue is a concern, consider skipping pulling exercises like horizontal rows and vertical pull-ups while you’re swinging, or simply shuffle those exercise to the back of the workout once swing practice is finished.
Non-competing exercises. Unlike some exercises, Macebell 360 swings don’t suck away energy from other activities in a workout.
Sure, every effort in the gym is going to drain the fuel tank a little bit, but swings have more of a flow-like element to them, with less time under tension versus grinding exercises like squats, push-ups, and pulling exercises.
Reps. I like 8-10 reps per side for beginners and novice. After the last rep, rest for a little bit before starting the next set.
Over time, feel free to increase the reps per side (15+) and the reps per set (30, 40, 50+ reps).
I like to accumulate reps in a session.
Accumulating 100 swing reps per workout is not unreasonable and spread across several workouts per week, this is a great way to improve swing technique through volume, acclimation, and constant technique refinement.
You have to practice, practice, practice to play well.
Macebell 360 swings are good to go for higher rep work sets.
Set a timer for 10 minutes and work until it sounds, or, aim for 6-8 rounds with limited rest (:30-:45 seconds) between each round.
I’ve worked up to no rest for the entire 10-minute work set, remaining cognizant of my technique and fatigue level throughout.
*** Setting a timer and getting to work is a favorite exertion strategy of mine. It allows for all focus to be directed toward technique/mechanics, body position, and timing.
If at any point swing technique begins to unravel (fatigue kills technique) or grip integrity diminishes and compromises safety… REST!
If you’re looking for cardio combinations, well, you came to the right place.
I LOVE using macebell 360 swings inside of conditioning circuits.
This cardio circuit is a personal favorite:
Macebell 360 Swings x10 each side
200m SkiErg
Hip Thrust x15
If you don’t have access to a SkiErg, substitute wave drills with battling ropes (or next-generation reactive training tool: InertiaWave), towel snaps, or medicine ball slams.
But I’d recommend saving up for a SkiErg, it’s an incredibly unique and versatile piece of cardio equipment with a small footprint for home gyms with limited space.
Public Service Announcement: Are you hip thrusting yet? (sounds kinda kinky, “that’s what she said”) If not, add hip thrusts to your workout regimen. Hip thrusts should be categorized as a primary exercise in my book (similar to deadlifts, squats, pull-ups, etc). They’re AWESOME for building strong glutes and hamstrings.
Advanced Macebell 360 Variations
“Advanced” describes any variation beyond the basic Macebell 360 swing.
Advanced variations introduce an additional technical element or movement that increases the challenge and training stimulus, making them more difficult.
Here a few cool variations:
Macebell 360 High/Low Swings
By far, this is my favorite macebell combination.
The flowing nature, swinging high and low in front of the body and behind, makes this combination challenging and addicting.
Start with lighter weight to feel out the demands and smooth out the technique of the combo.
Over time, you can increase the weight used and get the entire body twisting and turning.
🦴 Foot Fracture Saving Tip: Choke up on the macebell or flex at the elbows to keep the head of the mace away from the feet, or you risk DESTROYING your foot bones.
Macebell 360 Swing to Bicep Catch
If you like adding bicep work into your gym sessions, you’ll love this exercise.
Slowing down a speeding macebell using an eccentric variation of a bicep curl is AGGRESSIVE.
On top of slowing it down, reverse the action and “throw” the macebell back into orbit by curling it back up.
Macebell 360 Swings vs Kettlebell Swings
Having read through this article, you’re now familiar with Macebell 360 swings. In the kettlebell training world, kettlebell swings are a close relative to the macebell 360.
Macebell and kettlebell training are both ballistic drills, which are great for power development and conditioning (among other athletic traits).
During 360 swings, the macebell crosses the midline of the body from left to right and right to left on every rep, where the kettlebell swings pass between the legs from front to back in a pendulum-like fashion.
Two different paths of travel train different muscles.
For reference, here are kettlebell swings:
One of the glaringly obvious differences between a macebell and kettlebell is in the design.
A 40lb macebell and kettlebell weigh exactly the same when placed on a weight scale, however, after lifting a 40 lb macebell, 10 out of 10 people would agree it feels 15-20lbs heavier.
It’s pretty bizarre.
The kettlebell? Pretty balanced piece of equipment.
Macebells and kettlebells have a different distribution of weight, handles and therefore each piece of equipment creates a unique training experience.
At some point, I’ll write up a “Kettlebell Training vs Macebell Training” article.
Instead of playing favorites, I suggested designating each tool to play to their respective strengths and “best” exercises and uses in the gym.
Where to find/buy Macebells
I originally purchased my 15lb and 25lb from Amazon after doing extensive research.
Most macebells are designed exactly the same, so it became a cost situation.
Similar to lifting weights, Macebell training requires progressive loading across time to make gains and avoid plateauing.
The Adex Macebell is brilliantly constructed and allows for incremental changes in weight from 5lbs to 50lbs.
If you were to buy individual (one-piece) macebells in all of these sizes, they’d suck up a ton of valuable gym space while spending 4-5x the money in the end.
Now, if you’re going to be working sledgehammer drills against a tire with the macebell, I recommend using a one-piece macebell for that.
There are hundreds of different movement combinations, circuits, and workouts that can be created using a single kettlebell.
I actually prefer to workout with one kettlebell.
Single kettlebell training allows for smooth hand-to-hand switches but also employs uni-lateral loading, which challenges the muscles on the non-working side to stabilize the body.
Pound for pound, the king of all unilaterally loaded exercises is the Turkish Get Up.
The training effect will be profound and significant.
Each exercise listed has suggested reps for that particular exercise.
If your kettlebell is on the lighter side, which it might be, simple adjustments can be made to…
… make lightweight feel heavier…
Reducing or eliminating rest periods
Slowing down the speed/tempo of exercises (check out this super slow push up)
Adding reps to each exercise
In short, you can add reps, reduce, or fully eliminate rest periods or slow down the tempo of exercises to spend more time under tension.
All of these options will increase the intensity of the work being performed.
Note: Some exercises are impossible to slow down.
Swings, cleans, snatches are ballistic movements that need to be performed with explosiveness.
Lunges, squats, deadlifts, core work, pressing, etc… can benefit from a slow tempo.
Perfect for the Home Workouts
Kettlebell and bodyweight exercises are PERFECT for home workouts.
Each workout below was created for people who are exercising at home.
I’ve been training exclusively out of my home for over 12 years, and I’ll never go back. Learning about how to structure workouts at home can take some time, but once you get into a groove it’s really hard to return to the gym.
Time and money savings are two HUGE reasons to exercise at home.
If you have a gym membership, including a home-based workout 1-2 days per week can save time and help accelerate your pursuit of fitness goals.
Warming Up
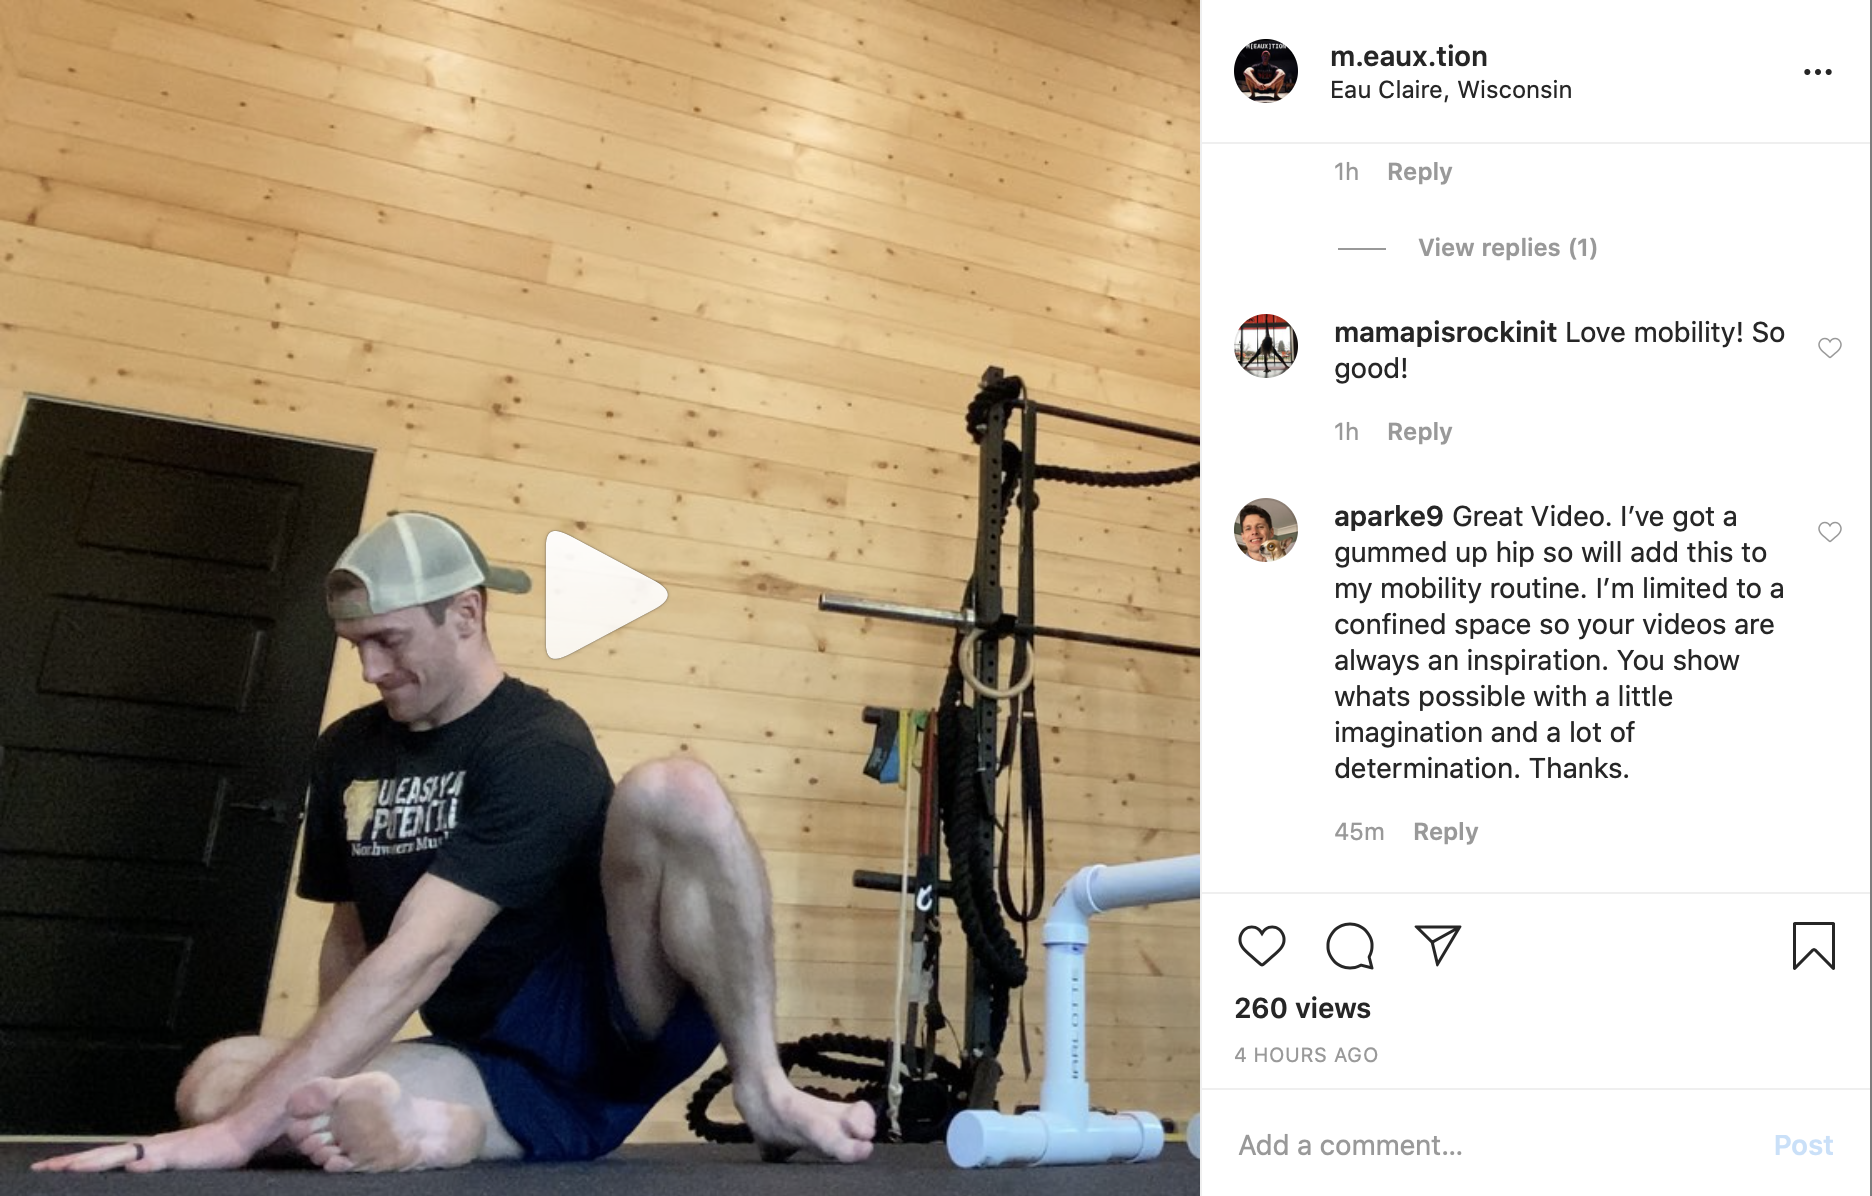
Each workout should include mobility work for joint hygiene and function.
Improving joint range of motion is a complete game-changer.
Basic mobility drills are powerful for relieving nagging aches and pains and restoring function.
A lot of mobility drills are bodyweight-based, so if you’re without much equipment you can still practice these and get all of the benefits.
Pretty cool.
You came here for workouts, and workouts you’ll get.
Crawling patterns and kettlebell swings are two great exercises that work really well together inside of circuits.
Quick and saucy training stimulus.
Combining two exercises might sound limiting, but if you select the right exercises it can be a really effective way to train.
Workouts don’t need to be complicated to be effective. There doesn’t need to be a long list of exercises to work through.
Alternating between two non-competing movements allows for max energy to be plugged into each movement, improves time efficiency while keeping the work focused.
Let’s talk about crawling and kettlebell swings, shall we?
Crawling
Crawling exercises can be performed in almost any training space. Tiny hotel rooms, outside, or at home in the make-shift home gym.
6-8 feet of straightaway space can accommodate any crawling variation.
There are a hundred different ways to modify the crawl to fit your environment and training space.
However, as you gain strength and coordination with the patterns, consider increasing the challenge by introducing obstacles, crawling over, under and around different terrain creates a whole new challenge.
Crawling looks easy. Baby’s crawl without a problem, so adults shouldn’t have an issue, right?
The shoulders, chest, core, and hips tire quickly, which is not necessarily an indicator of an effective workout, but more so a point to make for folks who think crawling looks “too easy”.
Here are some notable benefits of crawling:
Spatial awareness
Total body strength and conditioning
Coordination
Confidence (movement skill education)
Minimalist (can be performed anywhere, anytime)
Scalable for beginners to elite movers
Easily adjusted to elicit different training effects
Pair well with other exercises (lower body, pulling, swings)
Natural movement other than lifting weights and linear cardio
Kettlebell Swings
Kettlebells are one of the most versatile pieces of gym equipment on the planet.
A single kettlebell is all that’s required to crush a workout featuring kettlebell swings.
Similar to crawling, kettlebell swings can be performed in extremely small spaces, outside, hotel rooms, etc.
Higher rep kettlebell swing workouts are fantastic for burning calories and accelerating fat loss. It’s essentially loaded conditioning, similar to metabolic conditioning.
Kettlebell swings will burn fat while doing a surprisingly great job at maintaining muscle mass.
Some bloggers would feel guilt writing something like that, but there are too many testimonials to argue otherwise.
Thousands people who’ve leveraged kettlebell swings for body transformation. With good nutrition and a caloric deficit, using higher volume kettlebell swings will blast fat.
You can see how the lizard crawl and bear walk differ with regard to hip position.
Hips stay high, arms straight with the Bear Walk.
The lizard crawl is a whole other situation. Lizard crawling drops the hips close to the floor, making this crawling variation a serious challenge.
Kettlebell Swing Variations
The video above demonstrates 3 basic kettlebell swing variations:
2-hand kettlebell swing
1-hand kettlebell swing
Hand-to-hand swing
There are a lot more variations to explore, but I would consider these to be the fundamentals.
We will pair these variations up with a crawling pattern for each of the nano-circuits shared below.
Nano-Circuit Training
Nano-Circuits incorporate 3 exercises or less.
They are simple, saucy, and focused.
Reducing the number of exercises in the circuit removes unnecessary thinking.
There’s no stopping to check what exercises come next, how many reps, etc.
You just go.
Here are a few ideas for you to try:
Forward/Backward Crawl + 2-Arm Kettlebell Swings
Accumulate 20 yards of forward and backward crawling.
After finishing the crawl, step up to the kettlebell and perform 10 swings.
Side-to-Side Crawl + Single Arm Kettlebell Swings
Accumulate 20 yards of side to side crawl.
Upon finishing the crawl, step up to the kettlebell and perform 10 reps of 1-hand swings.
FW/BW/Side-to-Side + Bear Walk + 2 -Arm Swings
Perform forward, backward, side-to-side crawl, bear walk for 10 yards each…
… step up to the kettlebell and bang out 10 reps of 2-arm swings.
Lizard Crawl + Hand to Hand Kettlebell Swings
Obliques are going to take a beating with this combo. The lizard crawl is one of the toughest crawling patterns. Lizard crawling might require shortening the crawl distance because of how aggressive it is. Play around with it. Perform 5 reps per arm with the hand to hand swings. Use a lighter kettlebell if needed.
Move with focus.
Not every exercise needs to be picture-perfect from the get-go, but DO NOT RUSH THE MOVEMENTS.
Slow down, focus, move with stability
Beginners will feel and look wobbly, which is why selecting an exercise variation of the appropriate difficulty level is so important.
Even with simple exercises, movement mechanics are rarely sexy in the early days.
No matter which exercise variations you choose, establish the discipline DO IT RIGHT, versus opting to do it fast, intensely or while versus blasting through it chasing burn.
Generally, moving slow to learn exercises and develop strength, mechanics, and coordination.
I think people chase fatigue by rushing through exercises far too early in the process.
Learn slow, create a solid foundation, then add in the sexy stuff.
⏰ This workout will take 18-22 minutes to complete.
22 minutes of time invested to train the entire body is not bad. The sheer amount of work and incomplete rest periods will test your cardio as well.
Workouts DO NOT need to be super long, or packed with the lastest and greatest fancy exercises to be effective.
Short burst, higher intensity efforts using time tested exercises will deliver a potent training effect.
The intensity of this resistance training workout will put you on track to losing fat and gaining muscle.
Post-workout, the key is to pay attention to nutrition and hydration to leverage the effort of the workout.
Don’t waste the effort!
Get a good night’s sleep and get ready to attack tomorrow’s session.
Sandbag Training at Home
Sandbags are perfect for the home gym and have a lot of uses.
Common exercises such as push-ups, squats, lunges and body rows can be enhanced dramatically via loading up with a sandbag.
Progressive loading is vital to building strength.
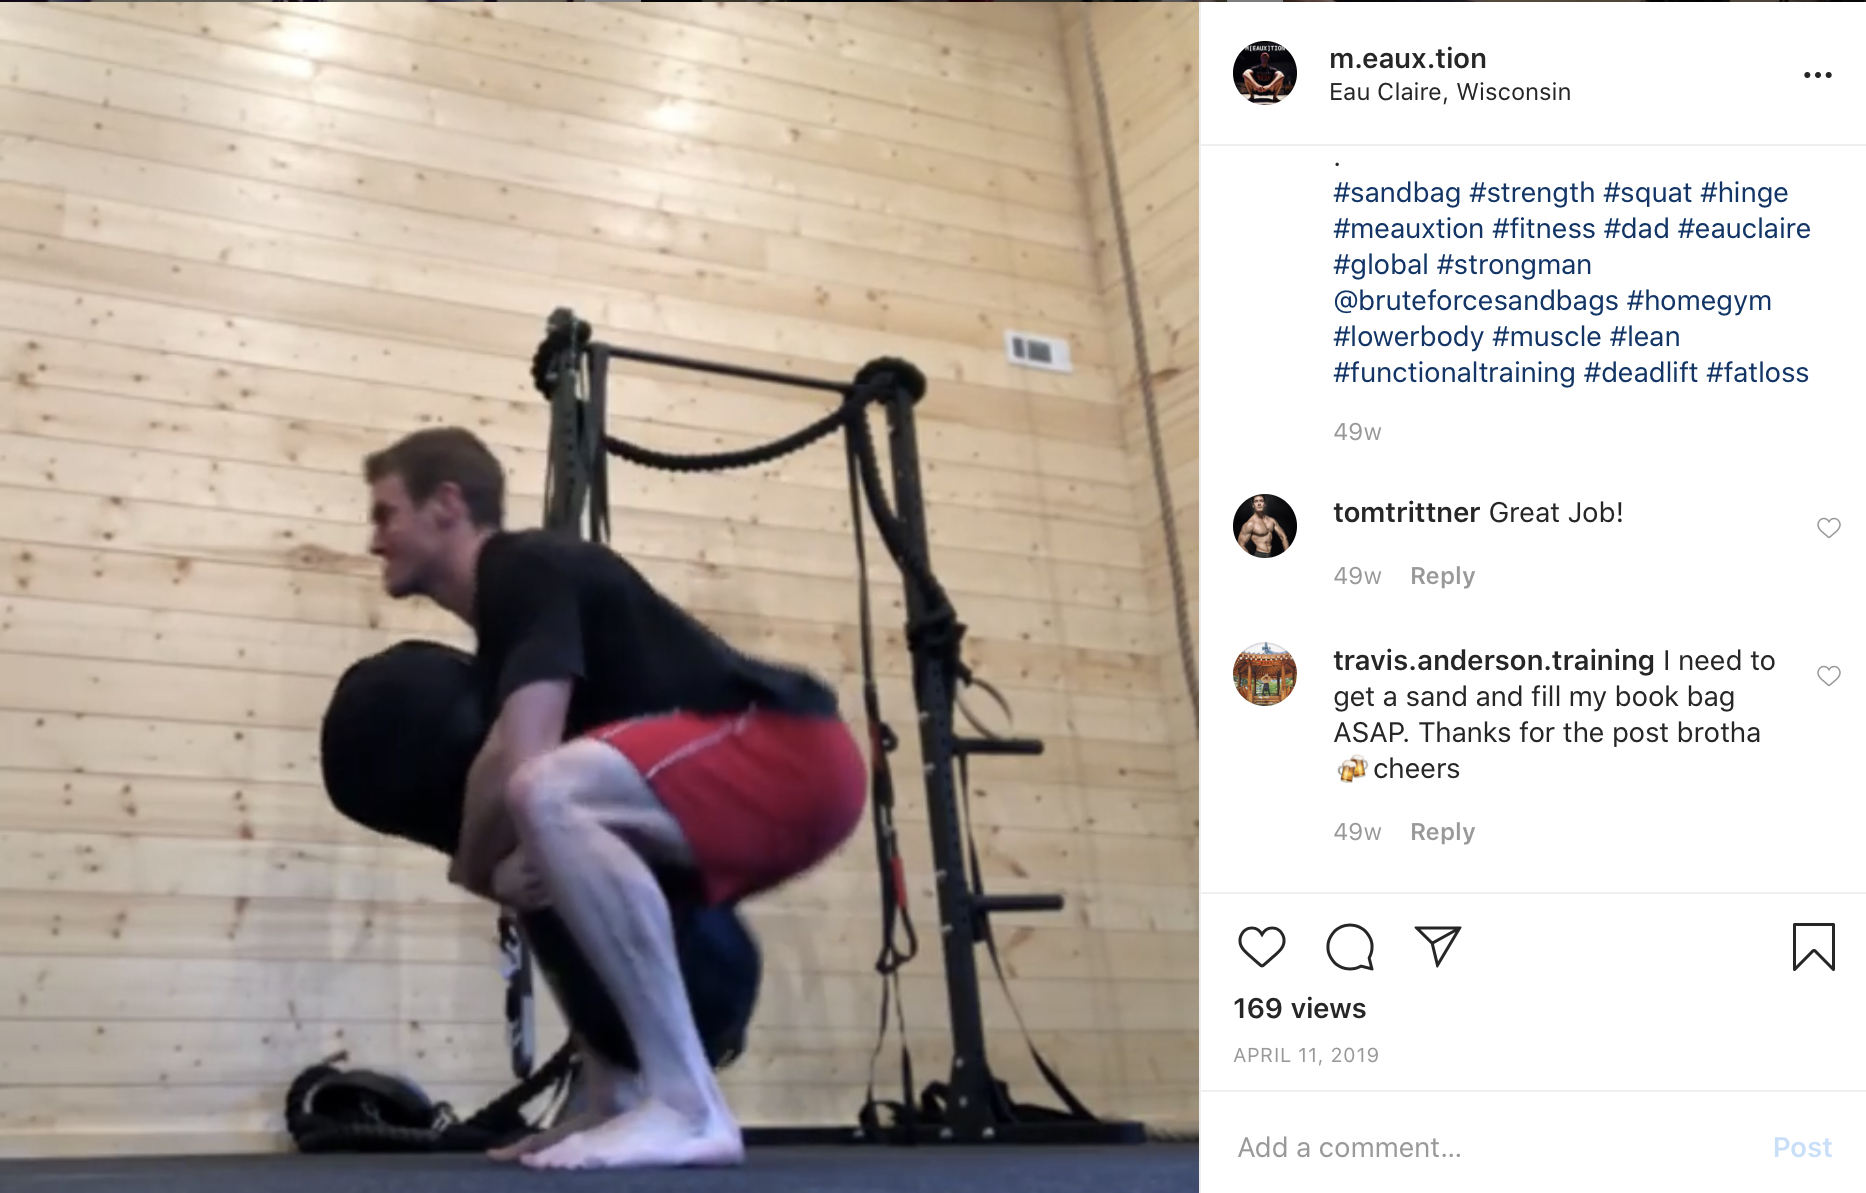
Heavier sandbags can be used as an anchor point for quality core training. Grip the handles and get to work.
Click👆 image to see Instagram post
On that note, I prefer loading push-ups with a sandbag versus weight plates. Sandbags mold themselves to your back and do not slide off like weight plates.
Shimmying the sandbag up, over and onto your back requires some effort. It’s good to be a DIY’er.
When it comes to loading a push up with barbell weight plates, I wish you the best of luck flipping them onto your back. One is doable, two is tough. Balancing a weight stack on your back can be annoying and take away from the exercise.
Power training with a sandbag. While awkward at times, power training with a sandbag is pretty realistic if you think about it. Sandbags move a lot differently than a barbell, and the effort translates really well into the real world.
Although sandbags generally have several different handle options, the fabric of sandbags is tough to grip.
Sandbags are odd-shaped to begin with and they tend to change shape during exercise. You’re constantly adjusting to the shift in shape.
✅ Pro Tip: Overstuffing a sandbag diminishes the shape-shifting benefits of sandbag training. Leave adequate space inside the outer shell for the inner bags to move around.
Carrying a heavy sandbag with a bear hug grip cannot be performed with iron, nor can shouldering exercises. Both of which are total body efforts and will drain energy from your soul.
Click 👆image above to view Instagram post
I use and value barbell lifts, but I’ve never had to lift any object outside of the controlled gym environment ergonomically shaped with perfect weight distribution like a barbell.
It just doesn’t happen.
On the other hand, sandbags are a bear fight every single time. Each repetition is a wrestling match, similar to the giant cardboard box Fed Ex dropped at my door.
Drag, flip, toss, throw, slam. Several fitness companies sell super durable outer sandbag shells that allow for throwing, tossing, slamming, dragging and flipping.
🖐 Pushing or dragging a sandbag will reduce the lifespan of the bag, especially on rougher surfaces. Regardless, sandbags can be pushed and dragged.
Save your floors. Sandbags will not destroy surfaces the way iron will when dropped. Sandbag training is also “neighbor-friendly” from a noise perspective since it’s a “soft” training tool.
Turkish Get-Ups, crawling, traveling squats and lunges, push-ups, rolling are all included in the 10 minute mini-circuits of the session.
Get ready to dirty your shirt.
If you’re unfamiliar with any of the exercises mentioned above, please head over to my YouTube channeland perform a search using those terms.
Always, always, always learn movement mechanics of new exercises while fresh and in an isolated fashion.
Learning an exercise in isolation means you’re repping out that exercise with the basic work-then-rest approach. Perform specific reps for a number of sets, rest, then attack the exercise again.
Fatigue can be managed with this approach, allowing movement precision to become the prime focus.
No one is above learning movements in isolation.
The exercise’s degree of difficulty might change from person to person depending on fitness level (beginners versus elite movers), but the approach is the same.
Learn new movements in isolation, code the movement into your system, do what you want from there.
Workout Structure
The full workout consists of 3 x 10-minute sections, each with a different movement emphasis.
You can execute all 10-minute sections, or perform 1 or 2 depending on your space, equipment and time.
Movement Emphasis
Workset #1: Turkish Get-Ups
Workset #2: Traveling Squats and Lizard Crawl
Workset #3: High Plank Step-Squat-Reach-Roll Flow
The goal is to perform the work non-stop 10 minutes with minimal rest.
Of course, movement quality is king, so if rest is needed take it to preserve the quality of each repetition.
10 minutes is the target exertion time. If you need to reduce the working time for each section, please do so. Start with a duration you can tolerate, any amount of time is better than doing nothing. 👊
After completing a 10-minute section, grab a drink, towel off the sweat and get ready for the next section. Don’t waste time.
Equipment List:
OMG!!! I need equipment?!?!
Not all workouts require equipment, but this one does, sorry…
* Kettlebell, dumbbell, sandbag, etc (weight for Turkish Get-Ups)
Bodyweight
12-15 feet of straight-away space
🤷♂️ If you don’t have any weights, find any object of reasonable shape and weight laying around the house that can add weight to the Turkish Get-Ups.
Get creative, it can be anything. A loaded backpack, children who are durable, a pet with a calm demeanor.
At the end of this post, I’ve included equipment shopping options.
Set #1: Turkish Get-Ups
No secret sauce here.
Turkish Get Ups are one of the best exercises on the planet.
Stand up and lay back down for 10 minutes, alternating sides each rep.
Turkish Get-Ups are a total body exercise and 10 minutes of continuous Turkish Get Ups is total body cardio conditioning.
Ideally, you’d have access to several different weights to switch it up. Start by using a lighter weight, bumping up the load every 3 minutes or so. End this 10-minute section with the heaviest load you have.
If you only have one weight, just use that. You’ll get a good enough training effect.
I prefer to use kettlebells for Turkish Get-Ups, but I’ve used many other gym tools with success. Dumbbells or sandbags can be used to add load to the Turkish Get Ups.
Set #2: Traveling Squats + Lizard Crawl
I love integrating isolated exercises into circuits.
Once you own a movement pattern, the options for using that movement pattern become limitless.
In the video, I’m traveling back and forth across a 15-foot distance.
From right to left, I use a descending modified dragon squat, uncrossing the legs and standing up with a Cossack squat to shimmy across the room.
After reaching the wall, I return to the start position with the king of locomotion patterns, the lizard crawl.
Turn around, switch sides, repeat.
Dragon Squat. The dragon squat is going to be a bit too aggressive of an exercise for a lot of people.
Here are exercises to substitute:
👉 Walking Lunge (forward or backward)
👉 Lateral Lunge
Lizard Crawl. If you’ve never tried a full lizard crawl, a work capacity circuit isn’t the time or place to dabble. The lizard crawl is an aggressive pattern best learned fresh.
I suggest regressing the crawling pattern to one of the following:
This simple ground-based flow includes a few common exercises (push-ups, sit-ups) along with uncommon ground-based flow movements (crab reach, rolling).
For some, this might be the first introduction into integrated movement conditioning.
Moving your body naturally through space.
This isn’t your basic “jogging in place, knees to elbows, shadow boxing fitness” circuit.
It’s bodyweight and movement, which will likely be humbling for a lot of people, including those who spend a lot of time resistance training in the gym.
You’ll feel the difference between natural movement and linear exercise while training like this.
During this work set, focus on smoothing out the transitions between each exercise. Make the entire sequence look like it’s fused together into a single unit.
5 years ago, I wouldn’t have referred anyone to Amazon for fitness equipment.
Today, Amazon is one of the best options to buy fitness equipment. Prime Shipping is hard to beat for shipping heavy gym equipment directed to your home fast.
3-5 sets of 5-8 throws per side (ideally early in the workout the body is fresh).
32.Chops and Lifts
Chops and Lifts are two simple (not easy) exercises that most people will find they:
a) struggle to execute on either side (even with lightweight).
b) can only successfully do on one side, not the other (even with lightweight)
There are many different positions to perform Chops and Lifts in, but the inline position is one of the most humbling.
Assume a half-kneeling position (one knee down, one knee up).
Place the down knee directly behind the heel of the up leg.So, make a straight line with your up and down legs.
Chopping or Lifting once in this position is dramatically more difficult.
33.Anti-Rotation Press Outs
Training rotation is often forgotten yet a HUGE part of everyday movement.One of the core’s important functions is to brace against forces acting upon it.
Stretching a resistance band under tension, pressing the hands out away from the body, you’re calibrating the core to resist rotational forces.
3-5 sets of 8-12 repetitions.
Hold each rep (elbows extended) for 2-3 seconds. Add time as needed.
34.Single-Arm Push-Ups
Everyone is fanatical about something, and I am fanatical about the value of single-arm push-ups.
To get started here, allow me to say that single-arm push-ups are not a circus exercise only for the flashy calisthenics athlete.They are for EVERYONE.Follow the progressions and you can make great gains with upper body pressing strength, stability, and range of motion.
Single-arm push-ups are a fully scalable movement for a beginner.A beginner can make single arm push ups more approachable by executing from a kneeling position, hands elevated on stairs/bench/plyo box or by wrapping a resistance band around the chest to reduce the loading.
All of these regressions will build strength while moving you closer to a full single arm push up.
I have found single arm push-ups to be one of the best upper body pressing exercises available.
35.Atomic Push-Ups
There is a time and place for isolated core work, and at some point, you realize that all exercises are “core work” on some level.So if you can add a push up to a knee tuck, do it.
The key to the knee tuck in this exercise is lifting the butt/hips to the ceiling, as high as possible, to make room for the knees tucking in toward the elbows.
3-5 sets of 6-15 reps
36.Core Smash
Core smash = intense core flexion contraction.
Lay face-up on the floor.
Place hands on the side of the head (fingertips just behind the ears), slowly bring your knees to meet your elbows, pressing elbow into the knees as hard as you can.
Hold it there, think of something other than the cramp brewing in your mid-section.
The set ends when the elbows lose contact with the knees.
Aim for brief holds at first, extending the duration as you gain strength.
37.Arch Body
The core is not only on the front of the body, easily seen in the mirror.It wraps around your body like a weight belt.Hard to see in the mirror, the glutes and spinal erectors are crucial for human performance, body health, and injury mitigation.
Arch body exercise is the opposite of the Hollow Body exercise.Chest down on the floor, you’re going to create a pronounced U-Shape by lifting the arms/back/hamstrings and heels.
Many will feel weak during the arch body, cramping, etc.It’s ok.Hold as long as you can, rest and repeat.
Hammer the front side, hammer the backside.
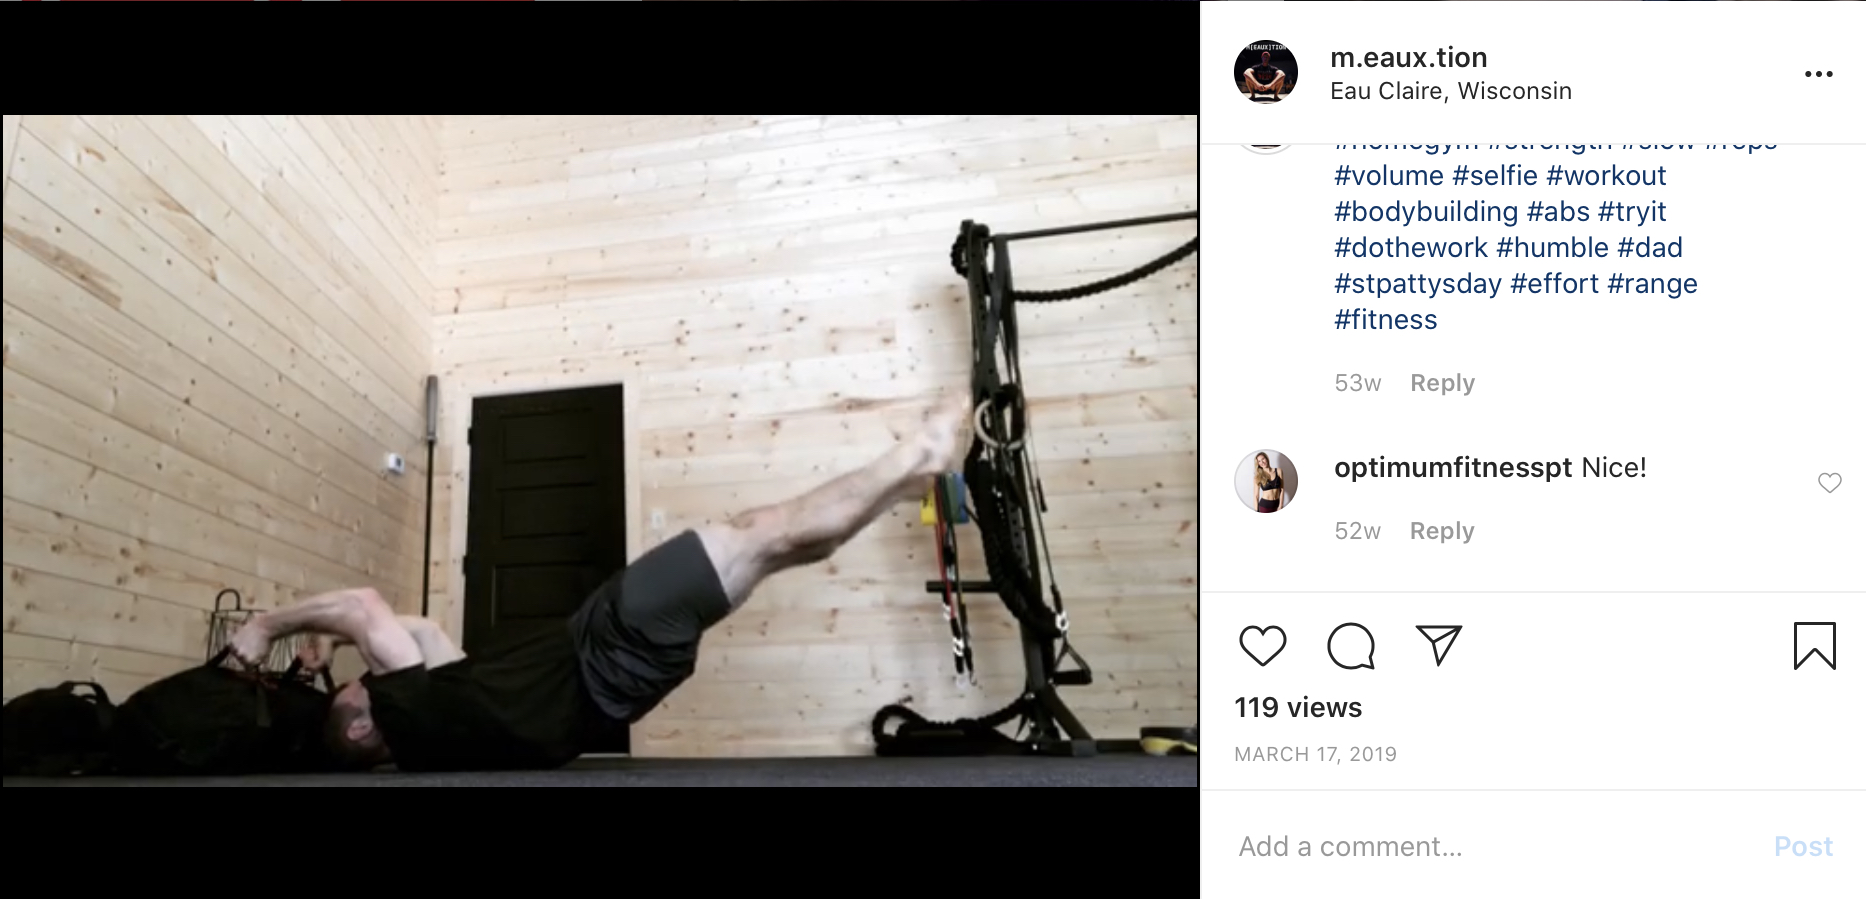
38.Hollow Body High Plank or Push Ups
Assume a high plank position (aka the top of a push up), roll your pelvis under, arch your spine and protect your shoulder blades to make as pronounced of a “U-Shape” as possible.
Hold there and embrace the suck, because it’s a highly rewarding position but a sucky position at first.The hollow body position is fundamental for many more difficult gymnastics based movements.
Stability balls are naturally unstable.So, putting the elbows on the stability ball to perform a plank creates a wobbly situation.Now, add a circular motion with the elbows as if you were stirring a giant pot of soup.
Why do this exercise?Because adding more time to a marathon length standard plank is not what most people need.More time doesn’t mean greater gains.At some point, especially with planks, make them harder.
One way to make them harder is to add a dynamic movement to a fundamental stability exercise.
40.Suspension Trainer Pendulums
Slip your feet into the loops of a suspension train or gymnastics rings, turn over and assume a high plank position (top of a push up).The feet are now suspended while the upper body is supporting.
Initiate a side to side motion pendulum motion from the waist on down by activating the hands/arms/torso.Grip the ground hard and swing the legs without breaking at the low back, hips, knees.
This is a very non-traditional exercise that will blow up your mid-section.Expect oblique soreness in the days that follow.
3-5 sets of higher repetitions, maybe 10-20 per side.
41.Core Compression Pulses
Core compression pulses are a beginner level gymnastics exercise, which in itself is humbling to think about.
To do them, sit on the floor, upper body erect and legs straight out in front of you.
Place hands on the outsides of the thighs, pressing into the ground for assistance as you lift each leg entirely off of the ground, pulsing up and down.
Lift the legs as high as possible without rocking, bending the knees or compensating to do so.
Core compression pulses are a high repetition exercise, but beginners don’t be surprised if you’re only able to get 3, 4 or maybe 5 before form breaks or cramping commences.
I like to work these early in the workout, before any other lifting or cardio because they are so demanding and isolating the motion is important.3-5 sets of 4-20+ reps.
42.Loaded Carrying Variations
Loaded carries are incredible for core development and total body tension.
For the functional fanatic in all of us who want every minute of strength work and cardio exercise to translate to real-world scenarios, is there any other mode of exercise more functional than carrying objects of varying weights, texture, shapes and sizes (not to mention carrying in various positions) from Point A to Point B?
Personally, I do not think so.
43.Lizard Crawl + Push or Pull
Perform a lizard crawl while pushing or pulling an object of weight.Simple as that.
I hesitated to include this hybrid exercise but ultimately felt that people who can Lizard Crawl proficiently would enjoy adding a brutal push or pull to the exercise.
A sandbag on carpet or a hard floor surface, a kettlebell, dumbbell or weight plate can all be used as the equipment for the push and pull.
I’ve used all of these tools with success, but I prefer using a sandbag on carpet or hardwood.
44.Spinal Waves
It’s been said, “we are as old as our spines”.
The spine is our life force and if we cannot move it when we need to, it is likely to become a problem down the road.
Exercise tips: Soft pump the wall for 100-200 reps most days of the week.
Sounds like too much?200 reps of spinal wave take less than 5 minutes and your body will thank you for the movement.
45.Standing Spine CAR’s
Lock in the hips, hug yourself and articulate in a circular fashion as if you were trying to dodge pushes from a boxer.Say hello to controlled articulations and their ability to wake up the obliques.Brace and breathe.
46.Hip CAR’s
Assume a quadruped position with hands, knees, and feet in contact with the floor.Raise your leg out to the side of your body as high as possible, pretend like you’re a dog about to pee on a fire hydrant.Be mindful to keep your shin bone parallel with the floor, which means your foot doesn’t move higher or lower than your knee.
[The guys at MyDailyMobility.comteach controlled articulations and a lot of other effective mobility drills in their daily mobility program. Give it a look. Your body will thank you]
Draw a large circle with your knee (articulate) as you slowly move the knee behind the body.This will look like the finishing position of a donkey kick.Lower the knee back underneath the body, but don’t set it down.Reverse the pattern.
Many of the best “core” movements are not isolated movements, and they shouldn’t be because isolating the “core” is not how humans operate.
47. Movement 20XX Kick Throughs
Side Kick Through’s are a basic movement element in Movement 20XX, resembling a break dancing type move.
Movement 20XX is a bodyweight focused, ground-based movement system packed with performance and restorative movement patterns.
Begin in a quadruped position, hands and feet supporting the body (knees hover 1-2 inches off the floor).
Rotate to one side by pivoting on the ball of the foot, opening up your chest to the side you’re turning toward.
Slide the trailing leg through and “kick” it through until fully extended.
While the leg kicks through, pull the opposite arm/hand back as if you were drawing back a bow and arrow.