Animal Flow is a ground based movement system that leverages multi-planar movements, transitions and various crawling patterns to create an effective form of exercise.
Scorpion, is a unique exercise with roots in Yoga, yet adapted and modernized by Animal Flow.
The benefits of practicing exercises like Scorpion on a regular basis are many, and discussed throughout this post.
Scorpion is a versatile exercise. We can slip it into warm ups, workouts, movement sequences and improvised flows.
The aim of this post is to give you information on Scorpion technique, benefits and ideas on how to integrate this great exercise into your current or future workout regimen.
More information on Animal Flow will be provided at the end of the article.
Animal Flow Scorpion
Benefits of the Scorpion exercise
- Lengthening of the hamstrings and lats
- Opening up and activating the hips
- Thoracic spine extension and rotation
- Shoulder strength and stability
- Rotational core training
- Uniquely challenging multi-planar movement
- Ground based, bodyweight, equipment free, minimal space requirements
Just one exercise, all of those benefits.
Ground based movement exposes your movement flaws.
To be blunt, expect to feel stiff and weak.
Newbies to ground based movement training should anticipate getting tripped up for a while.
The mechanics of the new exercises are foreign, the spatial awareness is new, the timing, tension, breathing, range of motion, etc… is new.
Consistent practice yields improvement.
Scorpion Movement Technique
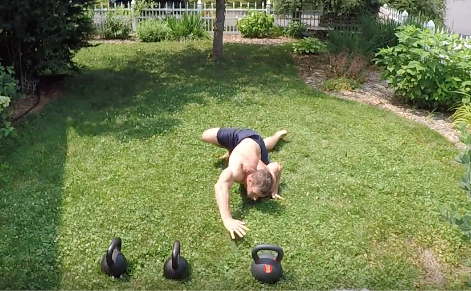
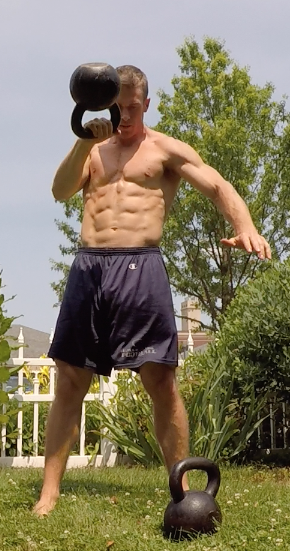
Bottom Position
The bottom position of Scorpion involves trunk flexion and a bit of rotation.
You can see my spine flexed, core hollowed out.

![]() Cues:
Cues:
– Eyes toward the hands
– Shoulders over the hands
– Round the back slightly to make room for the knee coming across
Slide the knee across the midline of the body to the opposite side elbow.
Once there, “kiss” the knee cap to the elbow.
Reverse the motion to start the upward phase of Scorpion.
* Tip: Limit momentum from the cross-body knee touch. Move slow and with control. If you cannot touch the knee to the opposite side elbow without compensating, that’s fine! Work the range of motion that you’re able to control.
**Warning: core cramping possible and likely***
Driving the knee across the midline to the opposite side elbow is difficult shit.
People who practice this type of training regularly (Yogis, etc) make it look easy, but it’s not.
Cramps and whole body shaking is likely.
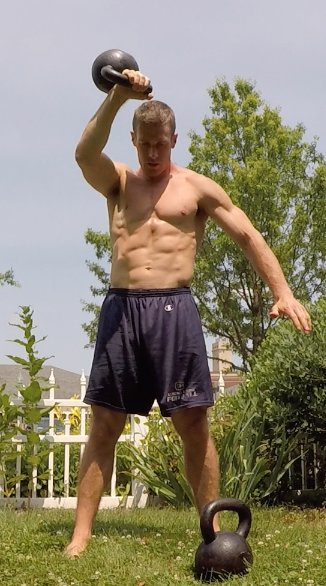
Top Position
At the top of the Scorpion, the body moves into trunk extension and rotation.
Cues:
– Ears between the arms
– Keep anchored leg as straight at the knee, heel down.
– “Reach” with the elevated foot, squeeze the glute
– Relax the jaw and neck (breathe)

![]()
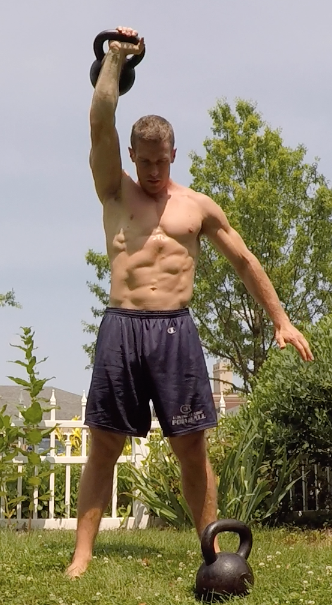
![]() What you should FEEL during Scorpion…
What you should FEEL during Scorpion…
Moving is a multi-sensory experience.
You hear, see and feel with every movement.
Knowing what to feel can speed up the learning curve with new movements and also give feedback that you’re doing the movement correctly.
Bottom position of Scorpion
- Shoulder and chest burn from stabilizing bodyweight in the high plank position.
- Intense core burn from the cross body knee to elbow.
Top position of Scorpion:
- Suspended glute is WORKNG HARD, feel the burn here.
- Hip flexor stretch.
- Backside stretch running down the anchored leg from glute to the heel.
- Side body stretch from the rotation (mainly the lats)
Personally, my lats (hips to arm pits) get a big stretch while practicing scorpion.
How to Use Animal Flow Scorpion into Workouts
Scorpion is extremely versatile for workouts.
Slip it into warm ups, the workout itself or use it as part of a flow.
Warm Up
Animal flow exercises are ideal to use in warm ups.
Here’s how:
Ground Based Conditioning (Animal Flow)
Resistance Training
Cardio
Cool-down
This is a very simple and effective workout template.
Spend 15-20 minutes working through foam rolling mobility and movement flow. Keep it brief and focused.
Resistance Training
Scorpion is a great filler exercise when paired with lifts (chin ups, squats, deadlifts, lunges, pressing, etc).
Filler exercises don’t take away from your main lifts while being more productive with rest periods. It’s active rest.
Here’s tri-set that uses Scorpion as a filler exercise:
A1) Chin Up
A2) Squat
A3) Alternating Scorpion
Chin-ups training upper body pulling, squats for lower body pushing, and Scorpion for a bodyweight based multi-planar movement.
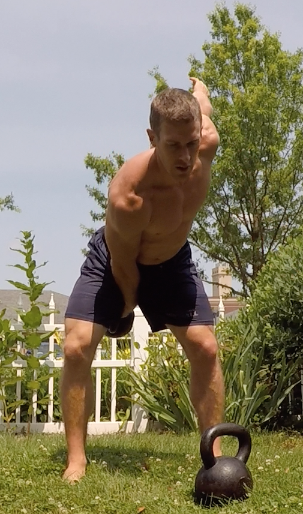
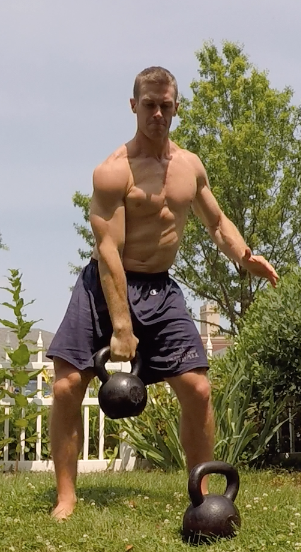
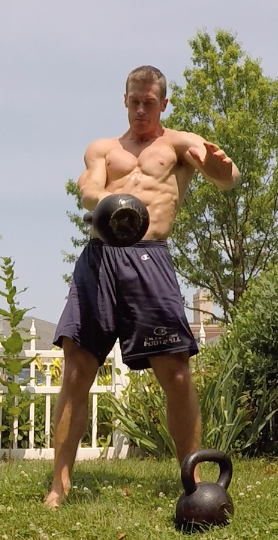
Cardio-Strength
10 Kettlebell Swings
10 Push Ups
10 Alternating Jumping Split Squats
10 Rows
Scorpions 5 each leg
Perform 5 rounds of this circuit for a time efficient total body cardio-strength workout.
Movement Sequences
For beginners to movement flow, moving beyond isolated exercise practice is best done with movement sequences.
Generally, a movement sequence is 2-3 exercises strung together.
Sequences introduce another incredible benefit of flow training, transitions.
Transitioning between exercises requires careful coordination, strength and control, balance, timing and spatial awareness.
The benefits of ironing out transitions between movements until they are seamless cannot be overstated.
Movement Flow
Ready to flow? Perfect.
Set a timer and go.
I’ve dabbled with 20-25+ minute improvised flow sessions.
Start with simple crawling exercises integrated with switches and transitions.
Add in traditional exercises like: push-ups, planks, squats, lunges, hinging, pulling, etc.
Explore the space. MOVE!
Multi-Planar Movement Training KICKS ASS
Animal Flow movements are multi-planar, and very unique compared to what most people are doing in daily workouts.
Exercises like the Scorpion move the entire body through a unique range of motion, challenging the core, hips and shoulders.
Ground based movements condition your body’s spatial awareness, strength, mobility, stability and efficiency.
Lunges, squats, kettlebell swings, over head pressing, push ups and vertical pulling exercises such as pull ups and chin ups are all great exercises, but they lack rotation.
Training your body to move well on a whim, in a wide variety of environments, on different terrain, over/under/through various obstacles or while completing unique tasks amplifies your movement capacity.
If you’re currently lifting weights and doing cardio, GOOD!
This article is NOT a call to stop doing those activities.
Animal Flow style training and a quality resistance/cardio training regimen can and should coexist.
Combining strength, conditioning and forms of natural movement creates the new gold standard in fitness.
Scorpion is the tip of the iceberg when it comes to ground based movement. There’s so much more to explore.
If you really want to received full benefit of flow work and ground based training, I highly recommend checking out Animal Flow.